
In this tutorial I will describe how to launch an ephemeral instance in a Kubernetes namespace using Reliza Hub.
Table of Contents
I Prerequisites
I will use our Rebom project as a base. It should be set up on Reliza Hub as described in my previous tutorial on regular ephemerals here.
Another thing you will need is a Kubernetes cluster that supports auto-provisioning of domain names. Simplest way to set up such cluster is to use K3s with Let’s Encrypt as described in my post here.
If you are using multi-domain K3s as suggested above, point a wildcard domain to that cluster via DNS. I would assume our base domain name to be mydomain.com for the purposes of this tutorial. I.e., if you have an IP address of your cluster, point *.mydomain.com A record to that IP address.
If you are using a different flavor of Kubernetes, your DNS setup may be slightly different. In any case, there should be a way in your cluster to recognize and register supplied DNS name passed via ingress.
II Helm Configuration
Conventionally, we create reliza-values.yaml file to reference any Reliza specific settings for ephemerals. In the Rebom case, a sample file is already checked in to the project’s Helm chart here.
For the purposes of this tutorial, the reliza-values.yaml file is very simple. It enables Traefik ingress resources (assuming K3s deployment) and resolves host name to whatever is set in the FQDN property on Reliza Hub.
III Create a Cluster in Reliza Hub
Open Reliza Hub and use the organization your previously created for the Rebom demo, as described in the prerequisites section.
Navigate to the Instances menu in Reliza Hub and click on the plus-circle icon in the Clusters section.
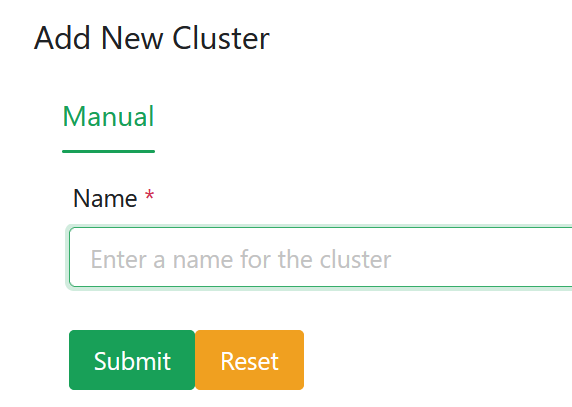
In the Add New Cluster modal, enter arbitrary descriptive name for the cluster, i.e. “Rebom Ephemeral Cluster” and click “Submit”.
A new cluster with the provided name will appear. Click on it to open it.
IV Connect your Cluster to Reliza Hub
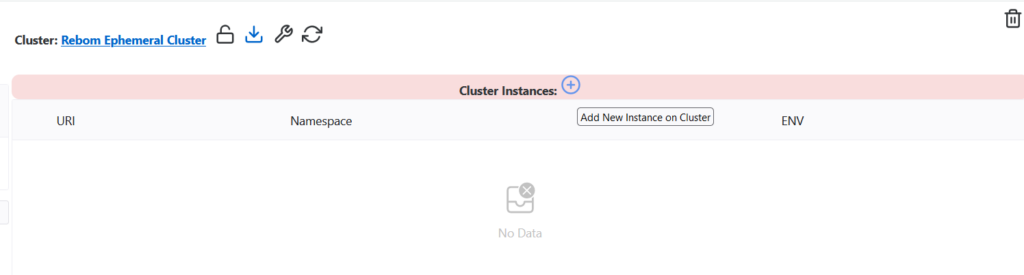
In your cluster view click on the lock icon near the Cluster name to generate Cluster ID and API Key.

Note credentials shown in the next modal.
On your actual Kubernetes cluster set up in the Prerequisites section, install Reliza CD using Helm with these credentials:
helm upgrade --install reliza-cd --create-namespace -n reliza-cd --set create_secret_in_chart=regular --set relizaApiId=actual_reliza_api_id --set relizaApiKey=actual_reliza_api_key oci://registry.relizahub.com/library/reliza-cdOnce Reliza CD is installed, you are ready to create ephemerals as described below.
V Create Ephemeral in a Namespace
In a Cluster, namespaces would be represented as Reliza Hub instances. In your cluster view, click on the plus-circle icon in the Cluster Instances section.
In the following modal, in the URI field, enter exact URI that your ephemeral would be using. Note that the suffix of your URI is defined by your DNS pointing – which for the purpose of this tutorial we agreed would be mydomain.com. The prefix of the URI may be set arbitrary, i.e., this could be myephemeral1.mydomain.com.
Select environment based on your Approval Matrix policy. For the purposes of this tutorial, we will use common lowest level environment – DEV.
The name for the namespace can be chosen arbitrary, it is common practice to use same name as domain prefix – myephemeral in our case.
VI Assign Rebom Bundle to Instance
Open your just created instance from the instances menu. Click on the plus-circle icon in the Bundle Releases section.
In the following modal set Rebom as parent bundle, choose Base Feature Set. Set integration type as FOLLOW to use latest available release. This can be switched later to TARGET as needed allowing to choose any desired version.
In the Extra Configuration field, choose values-reliza.yaml to use our Reliza specific configuration file.
The overall input should look as below:
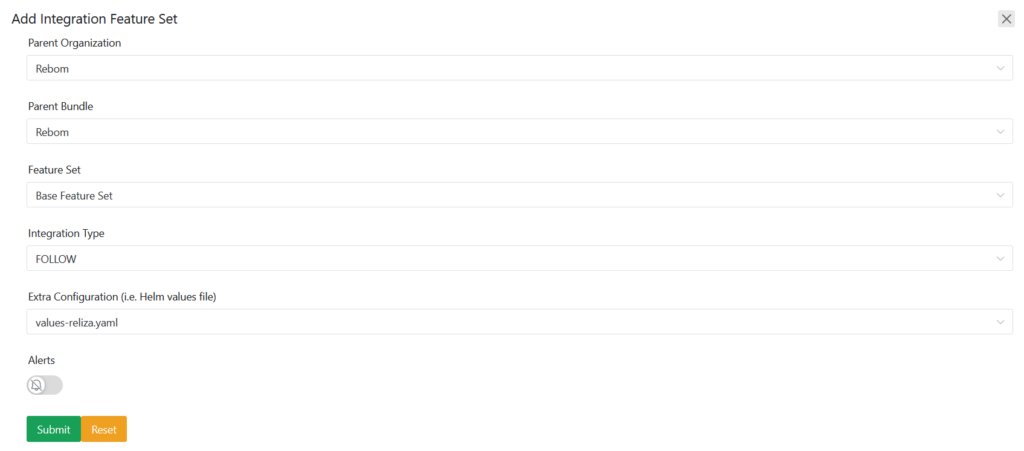
On clicking Submit, the cluster will start deploying Rebom onto the ephemeral and in 1-2 minutes, new cluster should be available on our chosen domain – such as https://myephemeral1.mydomain.com in this tutorial.
VII Multiple Ephemerals
Using the technique described above it is possible to create multiple ephemerals in different namespaces and on different sub-domains – all in just a few clicks.
This allows for a quick and easy way of testing code changes or setting temporary environments for marketing or demo purposes.