We have just rolled in Auto-Integrate feature to Reliza Hub and I’m going to describe here how this works.
As you know, our tutorials previously assumed the use of an Integration instance for bundling services in Reliza Hub. So for every case we had to allocate an actual instance responsible for integration. Not any more! The new Auto-Integrate functionality allows bundles to be created on the fly inside Reliza Hub as soon as new components are built.
This leads to faster set up and shorter feedback look while working with Reliza Hub.
What is this problem about?
Generally, we are tackling the bundling problem in microservice versioning. Bundles are a way to track myriads of permutations of versions of individual components into trackable stacks. In a way, bundles provide mechanism for linearizing versions of multiple components.
How were we solving this previously?
We required users of Reliza Hub to set up integration instances. A typical integration instance would pick latest versions of microservices destined to it – subject to optional approval rules or explicit pins via configuration manifests.
While this worked well, we were relying on the stable operations of integration instances for the flow to work. Which in some cases break principles of asynchronous CI/CD operations.
What is the new Auto-Integrate approach about?
We now allow users to set components bound to each branch. When a new component release is produced, it would automatically create a new bundle based on few rules.
From the start we allow following configurations:
- Components may be set as either Required or Transient. Transient components are not required for a bundle. Also, if a bundle contains a Transient component, the instance state may match to it even if the instance does not have the Transient component deployed. However, if the instance has the Transient component deployed, it would require exactly same version in the bundle to match.
- If component is set to Ignored, it will be completely ignored in both auto-integrate and matching processes.
- Components may be manually pinned to a certain release version. If that configuration is set, effectively every new bundle would only get the pinned version and not the latest version of the component.
In the future we are planning to add more options to set rules, configurations and integration strategies.
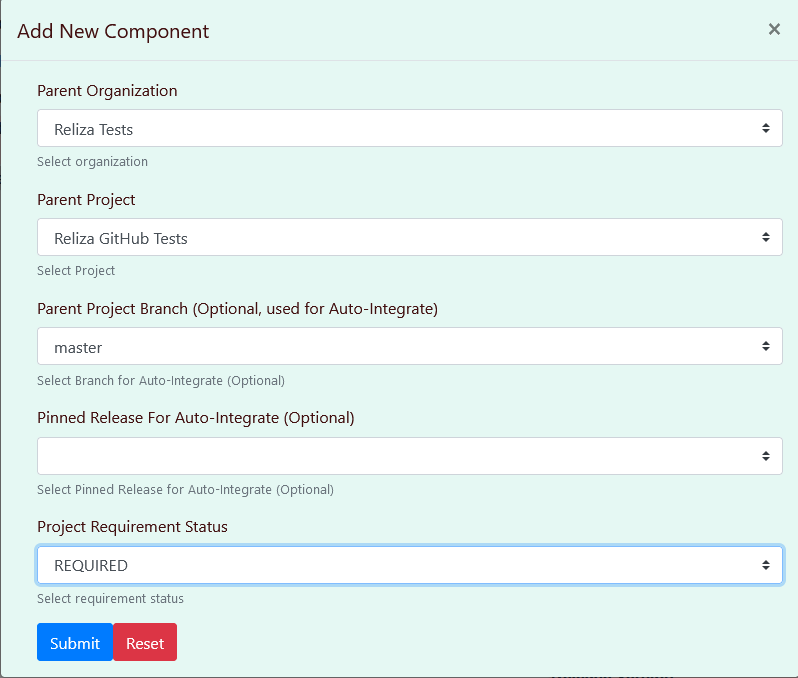
The new auto-integration components can be added via the ‘Add Component’ function in the Feature Set menu.
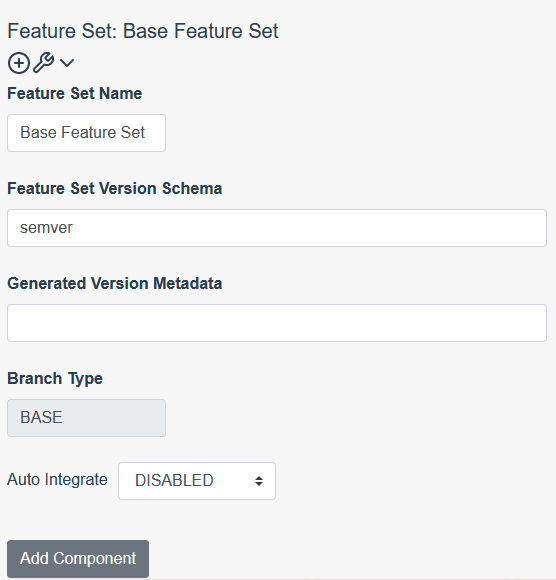
Make sure to set branch for every Required or Transient component.
Once all required and transient components are added, switch Auto Integrate flag to “ENABLED”.
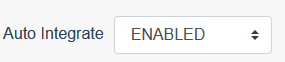
That is it! Every new component release would now trigger a bundle release under this feature set to be created.
Final Notes
We are not retiring integration instances – they work as they used to, we are just adding Auto-Integrate as an additional convenient option. When a test instance was used as an integration, it is now possible to switch such instance to follow mode which provides a better visibility of Actual vs Target state of deployments.
I am going to add some new tutorials showing Auto-Integrate functionality in action soon. Meanwhile, if you would like to discuss further, as always find me in the DevOps Community Discord.
1 comment